I have finally finished my bedroom makeover! Take a look.
My vintage table turned bench. What do you think? How did it turn out?
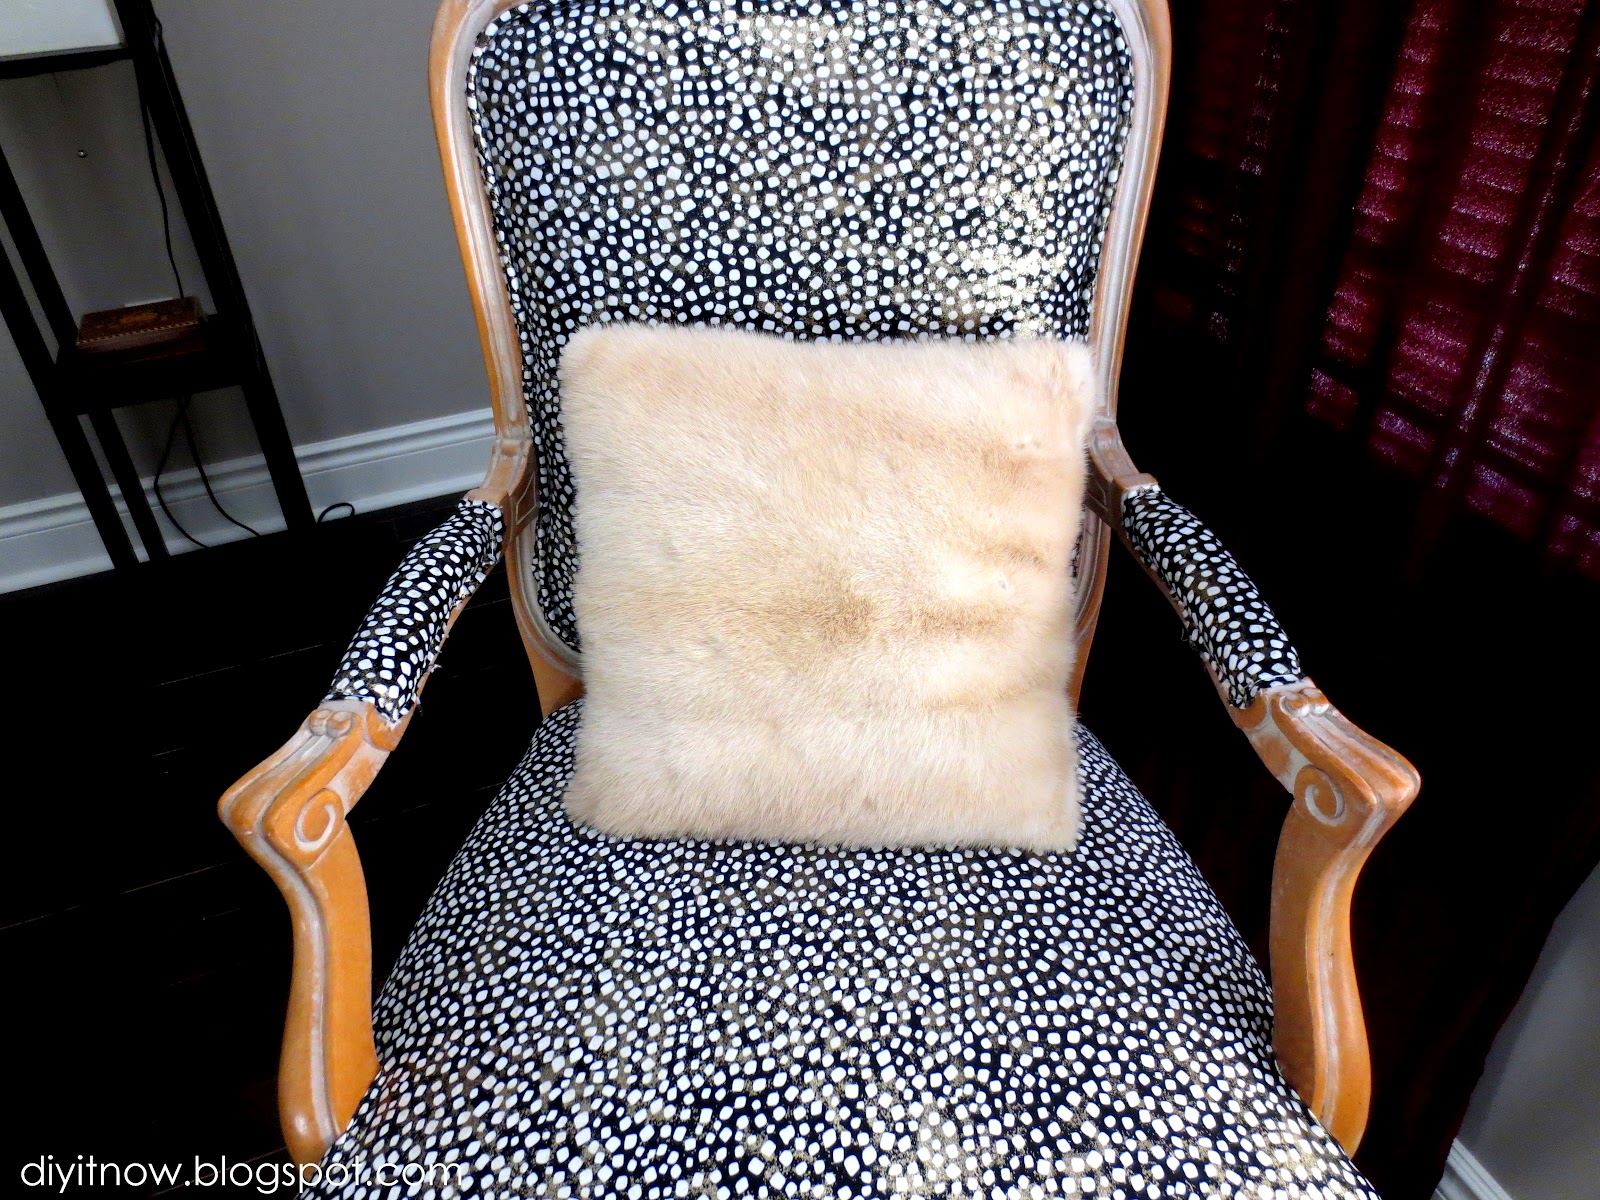
I reupholstered this classic chair. Gave it a funky fabric.
I love to display pictures in different ways. These are on the floor. Who said pictures need to be on walls.
I am so super excited with my new wall decor. Can anyone guess what that is on the wall?
A closer view.
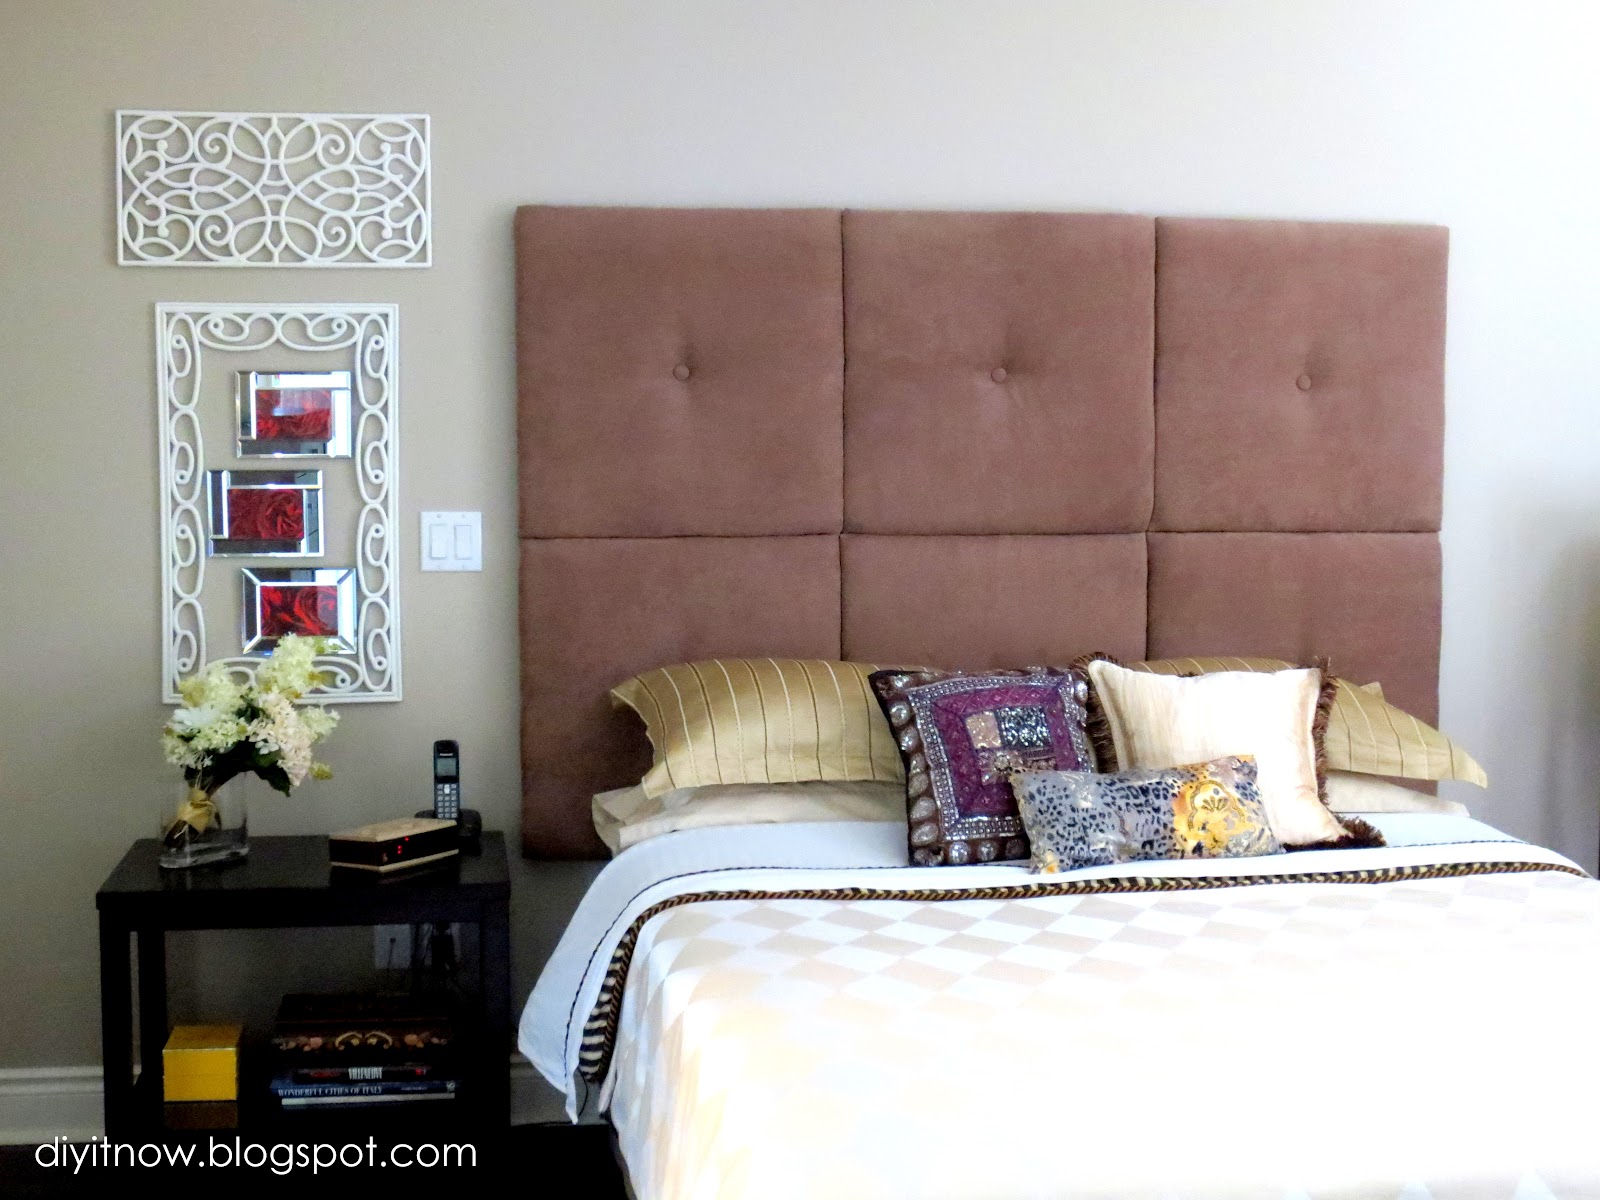
Inside I decided to purchase some inexpensive mirrored picture frames from the dollar store, and added some colour in it. That is a sheet of paper from Michael's that is used for scrapbooking. I love the pop of colour that it provides for my bedroom.
The LOVE wall decor was a DIY podge project. Four pieces of wood, painted them white, and printed some letters from the computer, and put them on. Easy peasy.
Here is my rug. The rug that I wanted was way too expensive. So I got myself some very luxurious......
faux fur....lol. I folded and stitched the edges by hand. No sewing machine necessary.
I didn't want to take a flip on it, so I added a strip of non skid material all the way around.
My ensuite bathroom in the background.
This is my padded headboard that I created a number of years ago. They are six separate panels, and they are held together with wood straps in the back, and hung on the wall.
DIYed the curtain panels with tabs on the top, from a veleveteen type fabric.
This pillow is pure luxury, so no one can use it.....lol It is made from an old mink stole which I turned into a really nice pillow, but NO ONE, can use it.
Yup, fake flowers....
No my bathroom ensuite is not blue. There is a skylight in it, and I guess the flash from my camera and the skylight created a blue hue.
My fab. wasili chair.
Ok, now I will tell you what that decor on the wall really is.
Here is a picture.
It is my rubber door mat!
I really wanted to put some ceiling medallions on the wall, but I needed a lot of them, and it would have cost me way too much. I had just been to the Home Depot, and saw a medallion that had a design that looked just like my door mat. When I got home and stepped on it, I thought, hey I am going to use this.
I cut the center piece out, which gave me two pieces to work with.
I primed and painted it white, and was ready to hang.
These are the frames that I bought. Two dollars each at the dollar store.
My sheet of paper. They have so many different patterns and colours, that you can decorate for very little.
I picked a very rich deep red print of roses. Very sexy and romantic.
Here they are ready to be hung.
This post has been linked to
;